Introduction
Ceramic, with its elegance and durability, is a popular choice for various applications, from tiling floors and walls to creating intricate ceramic art pieces. However, to ensure a lasting and safe bond, the choice of ceramic adhesives is crucial. In this comprehensive guide, we’ll go over everything you need to know about ceramic adhesives, including their types, application methods, and tips for achieving professional results.
Types of ceramic adhesives
1- Epoxy glue:
Epoxy glue is known for its superior bond strength and resistance to moisture, making it an excellent choice for ceramic tiles in high-humidity areas such as bathrooms and kitchens.
Epoxy glue comes in two forms – resin and solid – which must be mixed before application. Once hardened, epoxy forms a strong, durable bond that can withstand extreme movement and temperature changes.
2- Modified fine plaster:
Modified thin grout is a popular choice for installing ceramic tiles on various surfaces such as concrete, cement board and plywood.
This glue contains polymeric additives, which enhance its flexibility, strength of cohesion and resistance to cracking. It is suitable for both indoor and outdoor applications.
3- Polyurethane glue:
Polyurethane glue provides excellent bonding properties and is ideal for fixing ceramics to retrofit surfaces such as metal, glass and plastic. Polyurethane glue dries quickly and forms a flexible, durable bond, making it suitable for both interior and exterior projects.
Ceramic adhesives: application methods
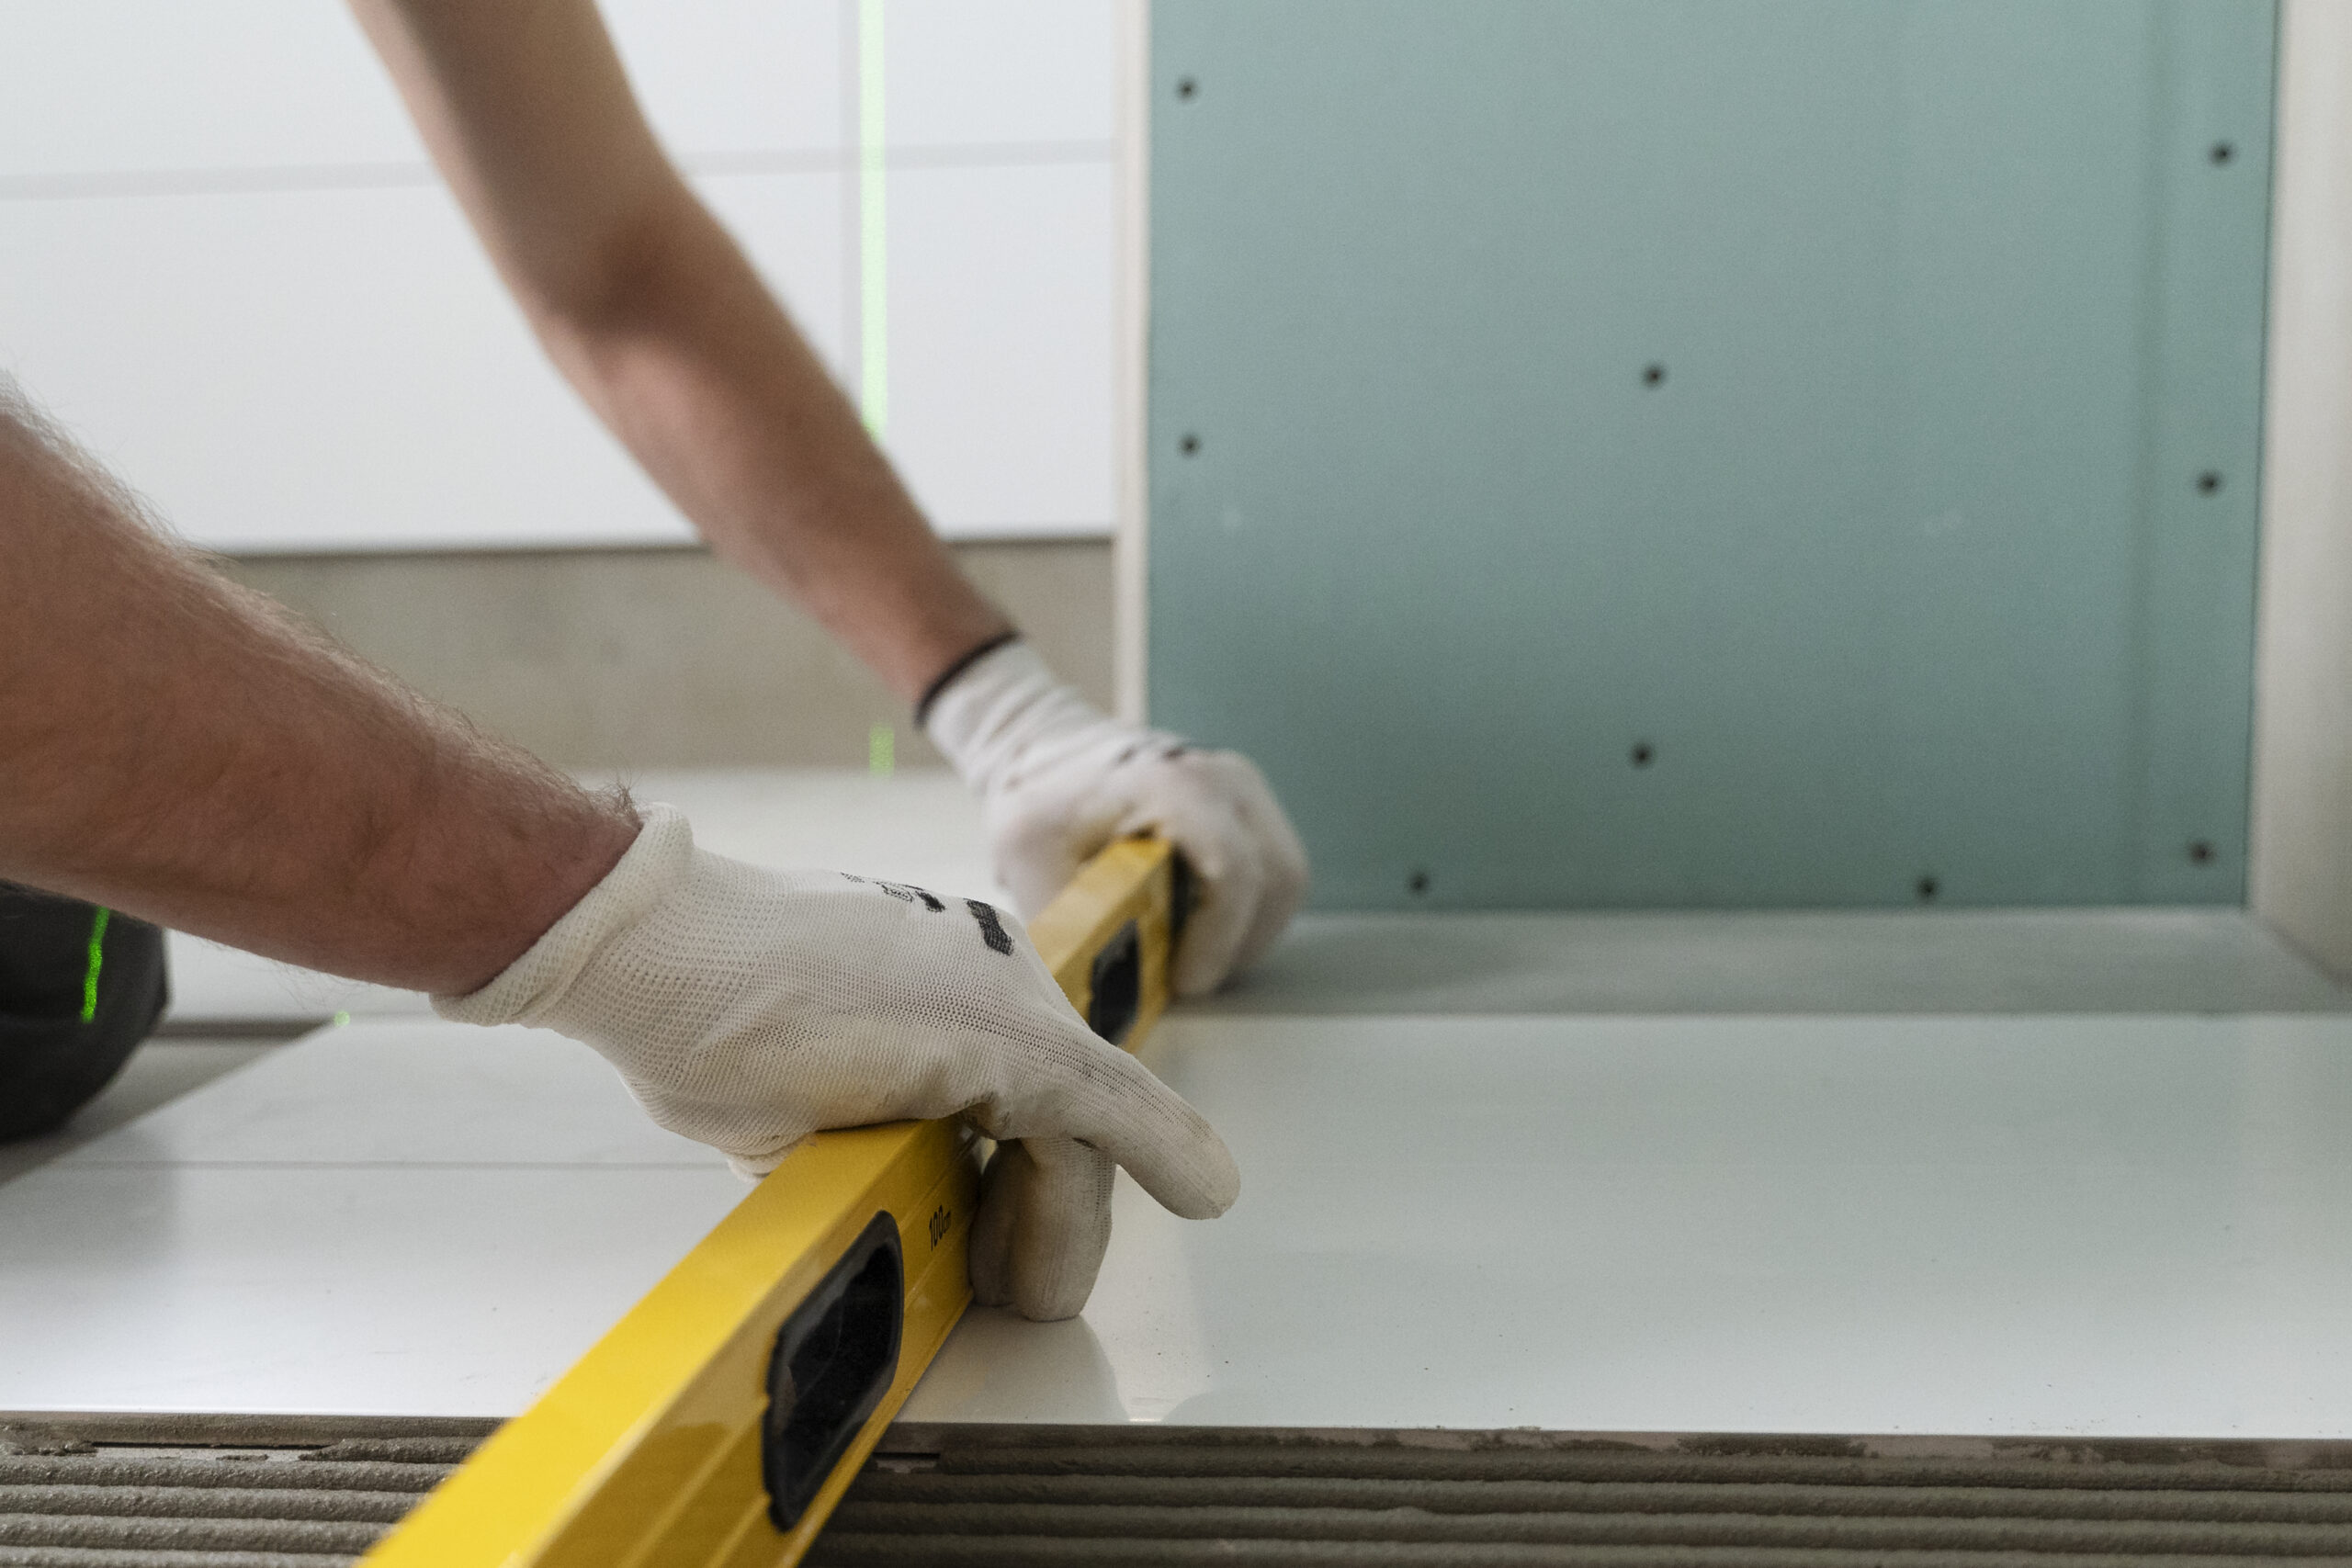
1- Surface preparation: Make sure that the surfaces that will be glued are clean, dry, and free of any impurities or contaminants. Then roughen the shiny surfaces with sandpaper to improve adhesion.
2- Mixing: Follow the manufacturer’s instructions for mixing epoxy glue or thin plaster. Use a clean container and mixing spoon for thorough mixing.
3- Application: Apply a thin, even layer of glue to the surface using a ruler or suitable dispenser. Then press the ceramic tiles firmly into place, making sure to achieve correct alignment and spacing.
4- Welding: Allow the glue to dry according to the manufacturer’s recommendations before welding the tiles. Use a high-quality grout that matches ceramic tile and provides a durable, stain-resistant finish.
Ceramic adhesives: tips for professional results
1- Use the appropriate amount of glue, because using large amounts enables excess glue to rush across the finishing lines and create a messy appearance. Follow the recommended coverage guidelines provided by the glue manufacturer.
2- Divide large projects into manageable sections to ensure the glue remains workable during installation. Work one section at a time, adjusting the tile position as needed before the glue dries.
3- Clean by wiping any excess glue from the tile surfaces and finishing lines using a wet sponge or cloth. Also be sure to remove stains and excess glue residue immediately to avoid them drying and becoming difficult to remove.
Conclusion
Choosing the right ceramic adhesives is key to achieving professional results and ensuring the longevity of your projects. Whether you are installing ceramic tiles in your home or creating ceramic art pieces. By choosing the right glue and following proper application techniques, you can tackle your ceramic projects with confidence, ease, and safety.
To order ceramic adhesives, go to dliver2.store/.